


Press Windows Key + R and type regedit in the text box of the “Run” window, which has just opened. Then press Enter.
-

- Up to Windows 10 version 1909:
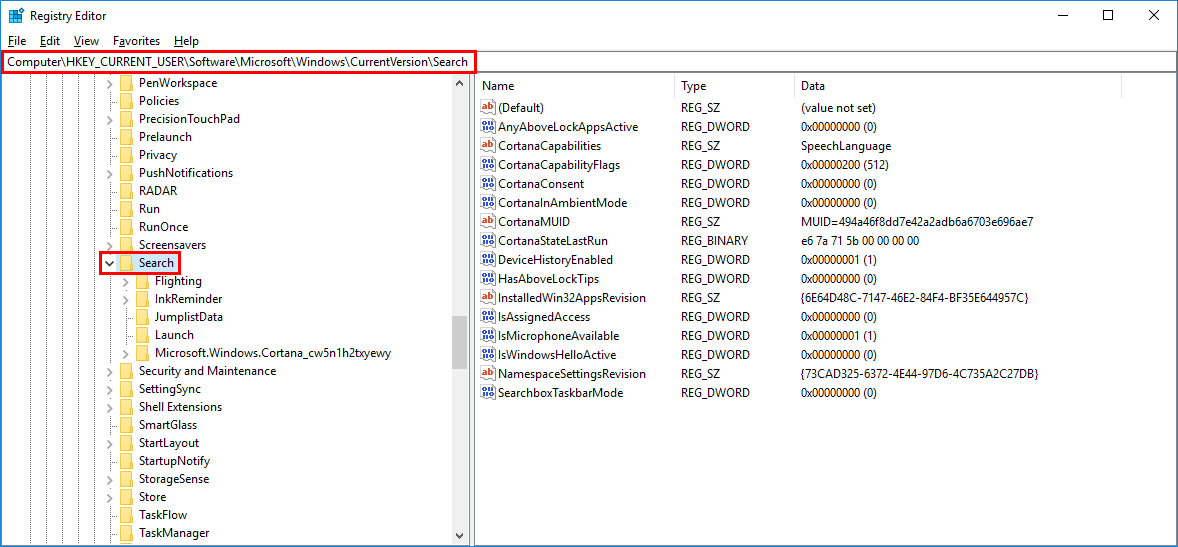
- Navigate to “HKEY_CURRENT_USER\SOFTWARE\Microsoft\Windows\CurrentVersion\Search” on the left side of the Registry Editor window.
-
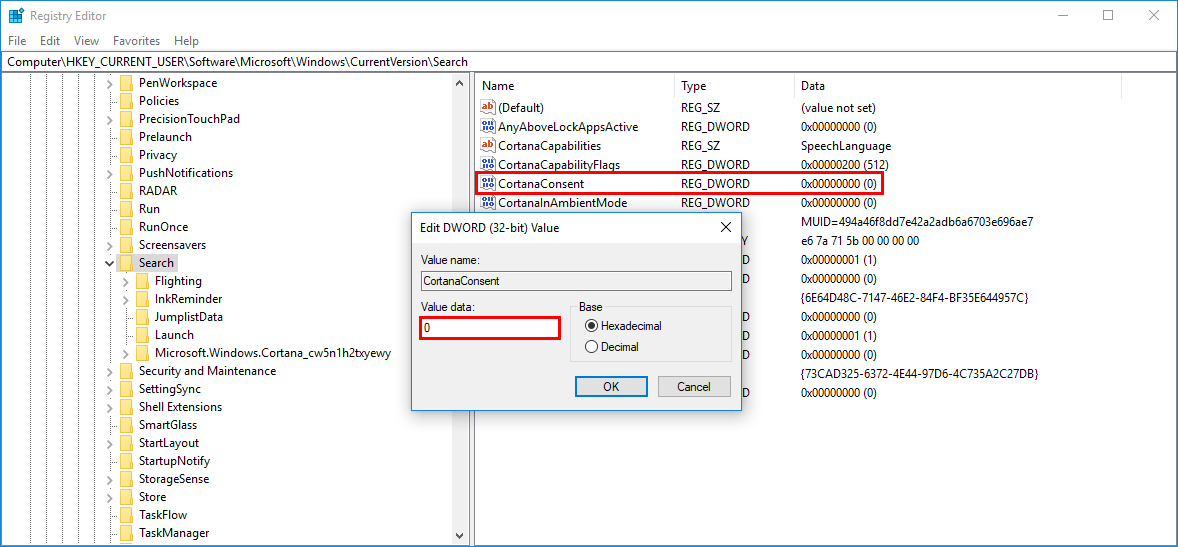
- If the value called “CortanaConsent” already exists on the right side of this window, double-click it and set it’s value data to 0 if the current value is different. If this value doesn’t already exist, make a right click in the free area on the right and create it by clicking on “New” -> “DWORD (32-bit) Value“. Type “CortanaConsent” as the name of this value and then press Enter. In this case, the value data is 0 by default and therefore doesn’t need to be changed.
-
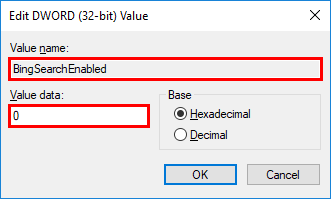
- Then right-click in the free area on the right and create another DWORD value named “BingSearchEnabled” by clicking on “New” -> “DWORD (32-bit) Value“. The value data must also be 0, which is the case by default.
For Windows 10 version 2004 or later:
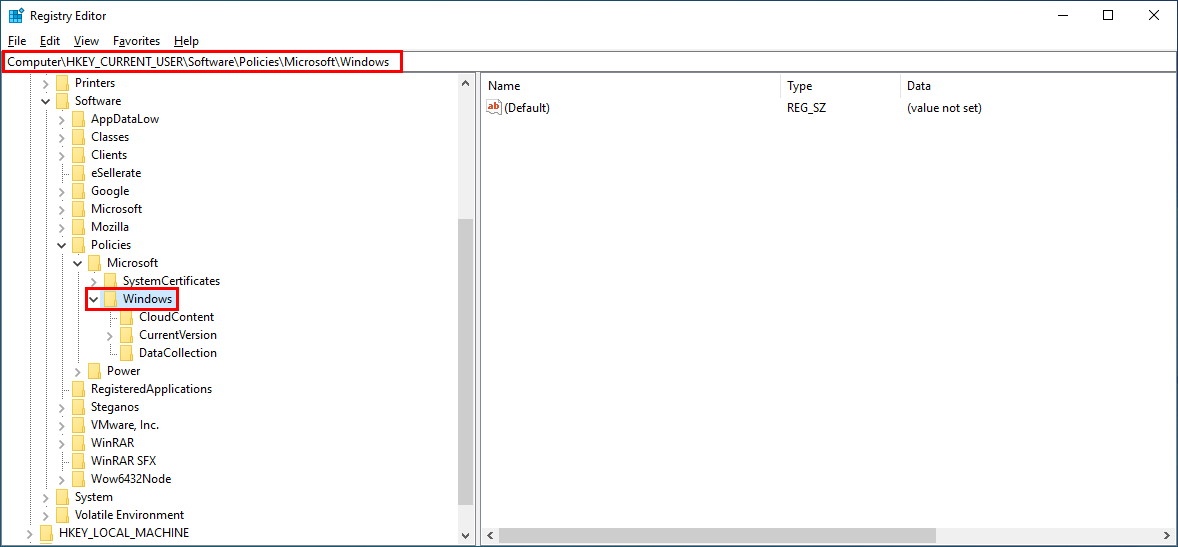
- Navigate to “HKEY_CURRENT_USER\SOFTWARE\Policies\Microsoft\Windows” on the left side of the Registry Editor window.
-
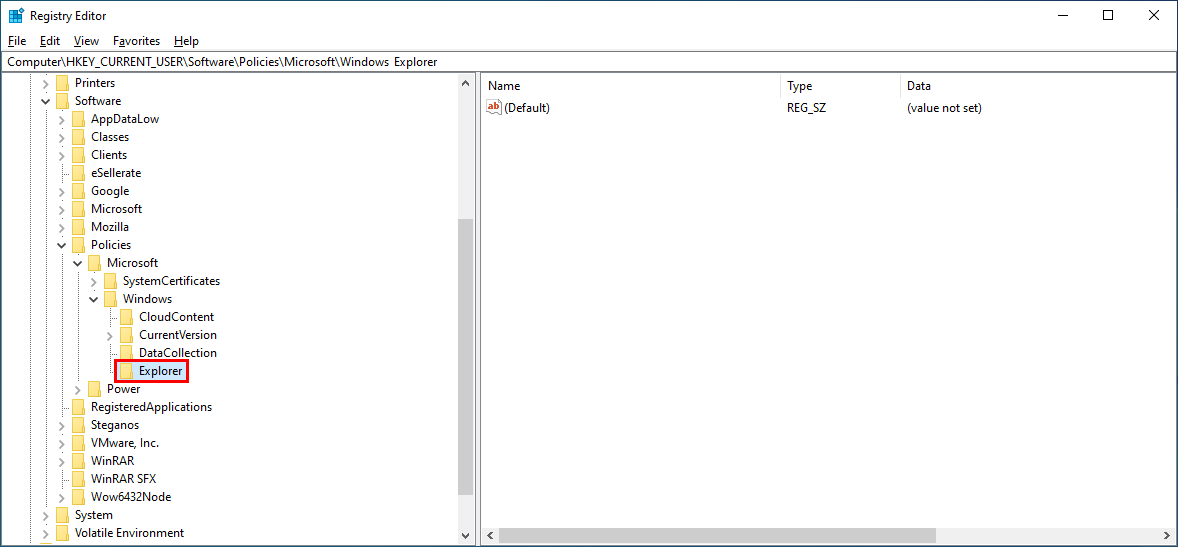
- If the key “Explorer” already exists below the key “Windows”, click on it. Otherwise, create this key by right-clicking on “Windows” and clicking on “New” -> “Key“. After you’ve entered the name “Explorer“, confirm it by pressing Enter.
-
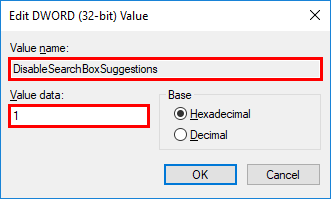
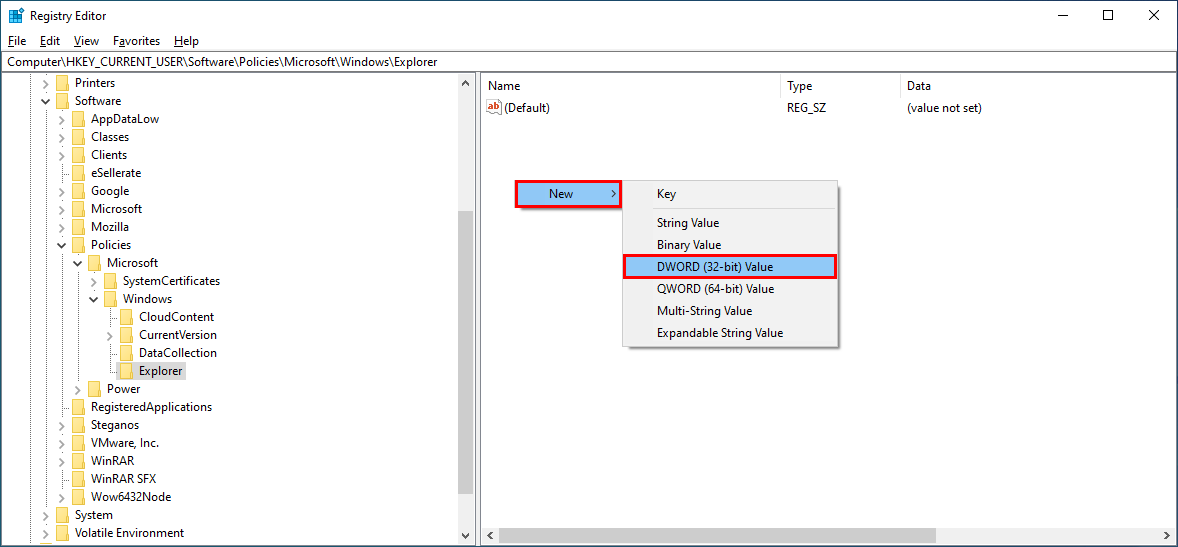
- Then right-click in the free area on the right and create another DWORD value by clicking on “New” -> “DWORD (32-bit) Value“. Type “DisableSearchBoxSuggestions” for the name and press Enter.
-
- Double click on this new entry and set the value to 1. Confirm the change by pressing Enter.
-
-
- You can now close the Registry Editor. After a re-login or a reboot, Windows will only search locally/offline and stop showing Bing web results in the start menu. Alternatively, you can terminate the “SearchApp.exe” and “SearchUI.exe” processes using the Task Manager.
- If you want to re-enable this web search feature, undo the changes listed above.